RM 2,958.00 Original price was: RM 2,958.00.RM 2,539.00Current price is: RM 2,539.00.
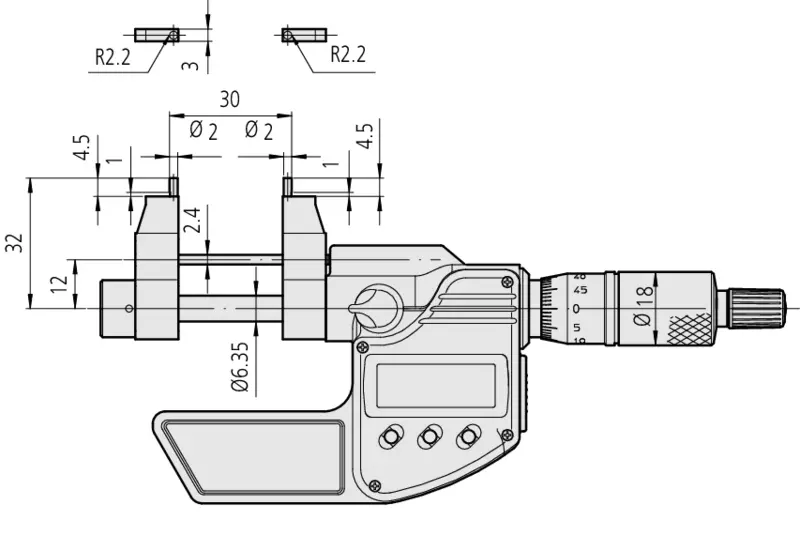
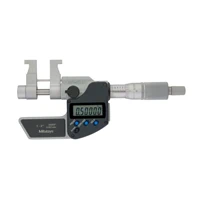
Mitutoyo 345-250-30 Digital Inside Micrometer, 5-30 mm range, 0.001 mm resolution, carbide tips, LCD display, high accuracy ±5 µm.
The Mitutoyo 345-250-30 Digital Inside Micrometer is a precision measuring instrument designed for accurate internal dimension measurement within a 5–30 mm range. Built with carbide-tipped measuring faces for durability, it ensures long-lasting performance in demanding environments. The digital LCD display with 0.001 mm resolution offers clear readings, while features like spindle lock, low-voltage alarm, auto power-off, and data output capability make it efficient and reliable for industrial applications.
The Mitutoyo 345-250-30 is a Digimatic inside micrometer that delivers superior accuracy with a maximum permissible error of ±5 µm. It supports metric readings with a 0.001 mm digital step and is powered by a long-life SR44 battery lasting up to 2.4 years. Weighing only 305 g, it combines portability with robustness. The device includes a large 7.5 mm LCD display for visibility, function lock, preset options, and connectivity through Digimatic cables or optional wireless data transfer systems like U-WAVE. Designed for repeatability and high-precision tasks, it’s ideal for manufacturing and quality control.
The Mitutoyo 345-250-30 stands out because it combines cutting-edge digital technology with the trusted reliability of Mitutoyo engineering. It transforms complex internal measurements into quick, repeatable results, reducing operator error while boosting efficiency. With its carbide measuring faces, preset functions, and compatibility with digital output accessories, this micrometer is more than a tool—it’s a guarantee of consistency, reliability, and productivity in precision-driven industries.
Measuring internal dimensions with high accuracy can be challenging and prone to errors when using traditional methods. The Mitutoyo 345-250-30 solves this by providing a digital solution that ensures ±5 µm accuracy with effortless readability. It eliminates the guesswork of analog scales, minimizes operator fatigue, and streamlines data collection with digital and wireless connectivity options. This makes it indispensable for industries where precision and efficiency are critical, such as aerospace, automotive, and high-precision machining.
Inspect aluminum and titanium housings with small bearing/bushing seats (5–30 mm). The 0.001 mm resolution and ±5 µm accuracy help catch drift early, while carbide faces resist wear on hard coatings. Use PRESET to speed recurring checks, lock functions to avoid accidental zeroing, and stream results via Digimatic/U‑WAVE to SPC, ensuring repeatability across batches without deforming delicate parts.
Measure internal guide bores (typically 6–12 mm) and precision injector passages after honing. The large LCD eliminates reading errors; spindle lock supports comparative measurements station‑to‑station. ±5 µm accuracy maintains tight tolerance windows that impact sealing and flow. Auto power‑off and long SR44 battery life suit high‑throughput lines, while data output enables traceable records tied to lot numbers for audits and PPAP submissions.
During fixture commissioning, confirm dowel‑pin holes and precision pockets to prevent positional stack‑ups. The 5–30 mm range covers common locating features; carbide tips stand up to hardened steel plates. PRESET speeds go/no‑go checks against nominal IDs, and function lock prevents accidental mode changes mid‑sequence. Captured measurements flow to your quality log, reducing rework and shortening the time from prototype to stable production.
After printing manifolds, gear covers, or sensor housings, verify internal diameters (e.g., 6–20 mm) before reaming to final size. The micrometer’s fine step (0.001 mm) reveals taper or out‑of‑round that can hide in lattice‑rich parts. Feed readings to SPC via Digimatic/U‑WAVE to tune CAM offsets layer‑by‑layer, minimizing scrap and ensuring assembled components achieve proper press‑fits and sealing performance.
| Feature | Details | Benefit |
|---|---|---|
| Model | Mitutoyo 345-250-30 (IMP-30MX) | Identifies the exact model for precise specification matching |
| Measuring Range | 5 – 30 mm | Covers a wide spectrum of small internal bores for various industries |
| Resolution (Digital Step) | 0.001 mm | Provides ultra-fine measurement detail for high-tolerance parts |
| Accuracy (Max. Permissible Error, J MPE) | ±5 µm | Ensures reliable quality control in precision manufacturing |
| Display | Large LCD, 7.5 mm character height | Clear visibility and reduced risk of misreading results |
| Scale & Finish | Satin chrome finish thimble and sleeve (ø18 mm) | Durable, smooth handling and long-term readability |
| Spindle | Spindle lock, pitch 0.5 mm | Secure and repeatable measurements with easy adjustments |
| Measuring Face | Carbide-tipped | High wear resistance and extended tool life |
| Measuring Force | 1 – 6 N | Gentle and consistent pressure to prevent part deformation |
| Power Supply | 1x SR44 battery | Easy to source, lightweight power solution |
| Battery Life | Approx. 2.4 years | Long-lasting operation reduces downtime and maintenance |
| Auto Power-Off | After 20 minutes of non-use | Saves battery and increases operational efficiency |
| Low Voltage Alarm | Yes | Alerts user to battery replacement before measurement errors occur |
| Function Lock | Yes | Prevents accidental changes to settings during use |
| Preset Function | Dual PRESET options | Speeds up repeated measurement tasks and reduces setup time |
| Data Output | Yes (compatible with Digimatic cables and U-WAVE wireless systems) | Enables seamless digital data logging and integration into SPC systems |
| Delivered With | Box, spanner, SR44 battery (without setting standard) | Ready-to-use kit for immediate operation |
| Weight | 305 g | Lightweight yet robust design for portable use |
| Optional Accessories | Digimatic cables, USB Input Tool, U-WAVE wireless transmitters | Expandable connectivity for modern digital workflows |
 |
Digital Inside Microm. Caliper Type |
| 5-30mm | |
| Mitutoyo Part Number: 345-250-30 | |
| More Info | |
 |
Digital Inside Microm. Caliper Type |
| 25-50mm | |
| Mitutoyo Part Number: 345-251-30 | |
| More Info | |
 |
Digital Inside Microm. Caliper Type |
| Inch/Metric, 0,2-1,2″ | |
| Mitutoyo Part Number: 345-350-30 | |
| For more : Contact us | |
 |
Digital Inside Microm. Caliper Type |
| Inch/Metric, 1-2″ | |
| Mitutoyo Part Number: 345-351-30 | |
| For more : Contact us |
Optional accessories:
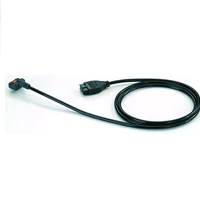 |
Digimatic Cable with Data Button IP Type |
| 1m, Micrometer Type | |
| Mitutoyo Part Number: 05CZA662 | |
| For more : Contact us | |
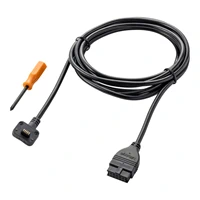 |
Digimatic Cable with Data Button IP Type |
| 2m, Micrometer Type | |
| Mitutoyo Part Number: 05CZA663 | |
| For more : Contact us | |
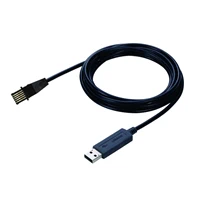 |
USB Input Tool Direct (Digimatic to USB) |
| 2m Cable, Digimatic/Digimatic 2, Flat Straight Type | |
| Mitutoyo Part Number: 06AFM380F | |
| For more : Contact us | |
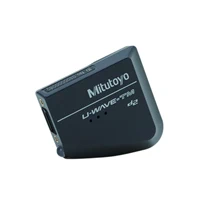 |
U-WAVE fit, Buzzer Type |
| Wireless Transmitter for Micrometer/Indicator | |
| Mitutoyo Part Number: 264-623 | |
| For more : Contact us | |
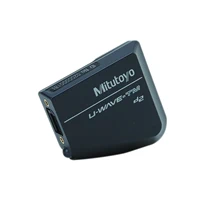 |
U-WAVE fit, IP67 Type |
| Wireless Transmitter for Micrometer/Indicator | |
| Mitutoyo Part Number: 264-622 | |
| For more : Contact us | |
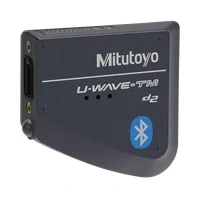 |
U-WAVE fit Bluetooth, Buzzer Type |
| Wireless Transmitter for Micrometer/Indicator | |
| Mitutoyo Part Number: 264-627 | |
| For more : Contact us | |
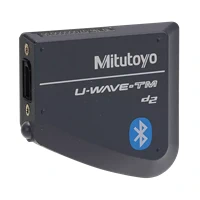 |
U-WAVE fit Bluetooth, IP67 Type |
| Wireless Transmitter for Micrometer/Indicator | |
| Mitutoyo Part Number: 264-626 | |
| For more : Contact us | |
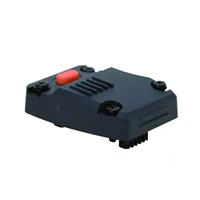 |
Connection Unit for IP Caliper, Micrometer |
| with Data Button for U-WAVE fit, U-WAVE fit Bluetooth | |
| Mitutoyo Part Number: 02AZF310 | |
| For more : Contact us |
Consumable spares:
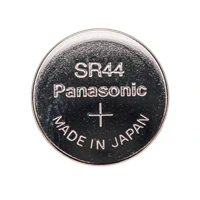 |
Battery SR44 1.5V |
| Mitutoyo Part Number: 938882 | |
| For more : Contact us |
For expert guidance before placing your order.
Warranty – 1-year warranty for your peace of mind.
Global Shipping – We ship worldwide with secure packaging and reliable delivery.
Technical Support – Contact us for professional after-sales technical assistance.